
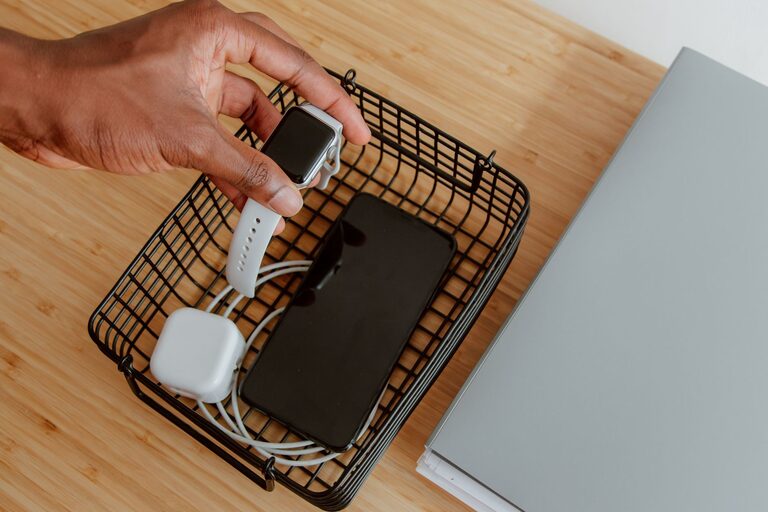
How to Set Up a Charging Station for Your Devices at Home
Setting up a dedicated charging station for your devices can save time, reduce clutter, and keep your gadgets ready to use. Whether you have smartphones, tablets, smartwatches, or other rechargeable electronics, a well-planned charging station offers a central spot to power them all efficiently. This guide will walk you through the steps to create your own charging hub at home or in the office.
Why a Charging Station Matters
With multiple devices and cords around, charging can quickly become chaotic. A charging station helps by:
– Keeping devices in one place
– Reducing cable clutter
– Preventing lost chargers or tangled cords
– Making it easy to monitor charging progress
– Protecting devices from damage by using proper charging setups
Choosing the Right Location
Start by deciding where to place your charging station. Some popular spots include:
– A desk or work area
– A nightstand in the bedroom
– A common living room space
– Near a power outlet with good accessibility
Consider a location that is easy to reach but out of the way of daily foot traffic. Also, ensure there are enough power outlets or access to a power strip.
Gathering Your Supplies
Before setting up, gather these essentials:
– Power source: A surge-protected power strip is recommended to safely handle multiple chargers.
– Charging hub or station: Options vary from simple multi-port USB chargers to more elaborate wooden or acrylic organizer stations.
– Charging cables: Have the correct cables for each of your devices ready—USB-C, Lightning, Micro-USB, etc.
– Cable organizers: Velcro strips, clips, or cable sleeves help keep cords neat.
– Device holders or stands (optional): These keep devices upright and visible while charging.
– Labeling materials (optional): To mark cables and ports for easy identification.
Step-by-Step Setup Guide
1. Clear and Clean the Area
Remove any unnecessary items from your chosen spot. Wipe the surface to start with a clean slate.
2. Position the Power Strip
Place your power strip or charging hub where you can easily plug in devices without creating a tripping hazard. If the power strip has a long cord, secure it to avoid tangling or pulling.
3. Organize Chargers and Cables
– Plug in your multi-port USB charger or individual chargers into the power strip.
– Connect all necessary charging cables to the charger ports.
– Use cable clips or sleeves to route and bundle cables neatly along the back or side of the station.
– Label cables if you have many similar-looking cords to avoid confusion.
4. Add Device Holders or Stands
If you use stands or holders, position them within reach on the charging station for each device. This helps keep devices upright, prevents screen scratches, and makes it easy to see charging status.
5. Test and Adjust
Plug in your devices and check that they are charging correctly. Adjust cable length or holder placement if needed to avoid strain on ports.
6. Maintain Your Charging Station
Regularly tidy cables and wipe down the surface. Check for any damaged cables or chargers and replace them promptly for safety.
Tips for a Smarter Charging Station
– Use fast chargers: Select chargers compatible with fast-charging standards for your devices to reduce charging time.
– Avoid overloading outlets: Check the power strip’s maximum wattage and do not exceed it.
– Incorporate a wireless charging pad: Some devices support wireless charging; adding a pad can reduce cable clutter further.
– Personalize your station: Customize with colors, labels, or décor to make the space inviting and easy to use.
– Keep safety in mind: Avoid placing charging stations near water or on soft surfaces that can overheat.
DIY Charging Station Ideas
– Repurpose a wooden box or drawer: Drill holes for cables and create compartments for devices.
– Use a desk organizer: Adapt office organizers with cable holes to sort devices and cords.
– Create a wall-mounted station: Mount USB hubs and holders on a board to save desk space.
Conclusion
Setting up a charging station for your devices is a simple project that improves organization and device management. By choosing the right location, gathering proper supplies, and organizing cables and chargers thoughtfully, you can achieve a clutter-free and efficient charging hub. With a little maintenance and personalization, your charging station will keep your gadgets powered up and ready whenever you need them.
